How to Make Perfect Ninja Foodi Hard-Boiled Eggs
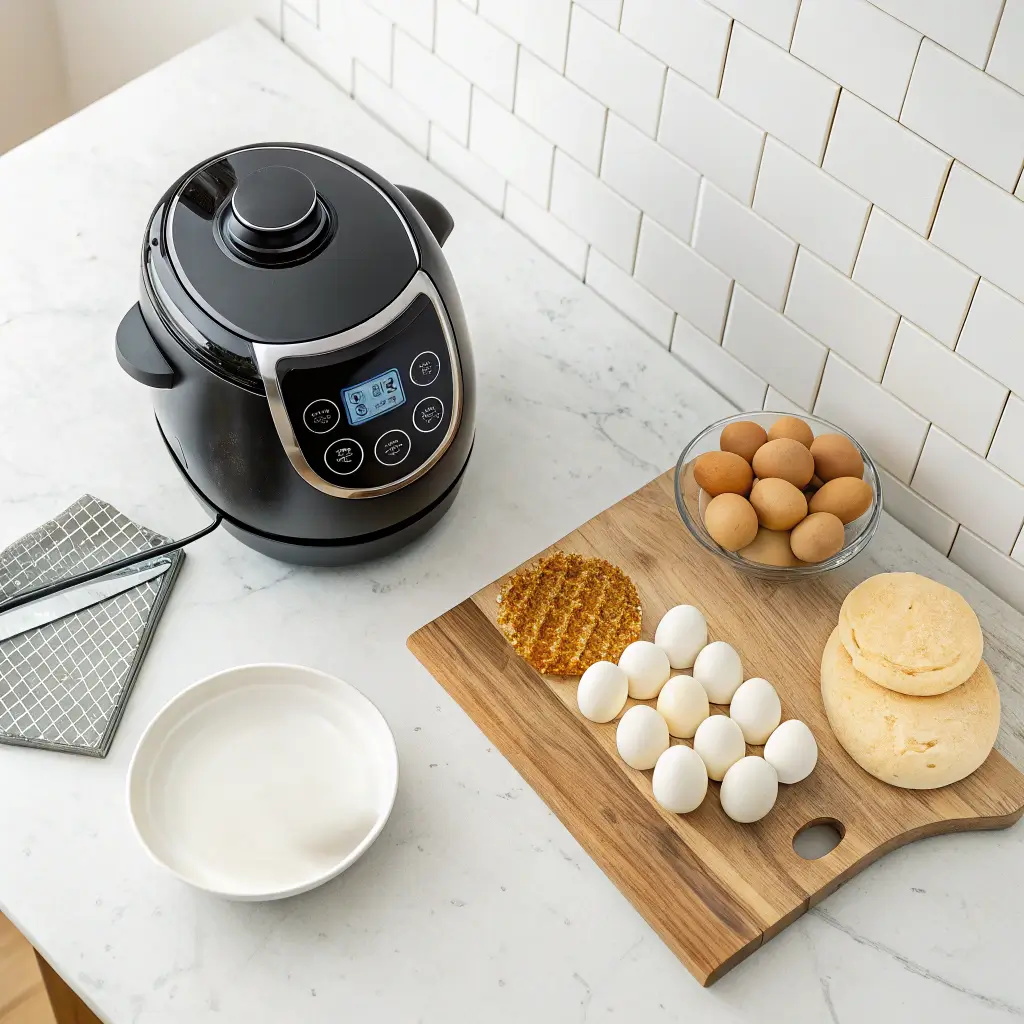
Hard-boiled eggs are a versatile staple, perfect for quick breakfasts, meal prep, or adding to salads and snacks. With the Ninja Foodi, making hard-boiled eggs is easier than ever. The pressure cooking method ensures consistent results—firm whites, creamy yolks, and easy peeling every time.
Traditional stovetop boiling often leads to overcooked eggs with a grayish-green yolk or shells that stubbornly stick. The Ninja Foodi eliminates these problems by providing precise temperature control and steaming efficiency, making the process faster and more reliable.
In this guide, you’ll learn how to make perfect Ninja Foodi hard-boiled eggs in just a few simple steps. Whether you prefer soft, medium, or firm yolks, this method guarantees excellent results every time.
Let’s get started with the key benefits of using the Ninja Foodi for hard-boiled eggs.
Key Benefits of Cooking Hard-Boiled Eggs in the Ninja Foodi
Using the Ninja Foodi for hard-boiled eggs offers several advantages over traditional boiling. This method ensures consistent results, effortless peeling, and time efficiency, making it a game-changer in the kitchen.
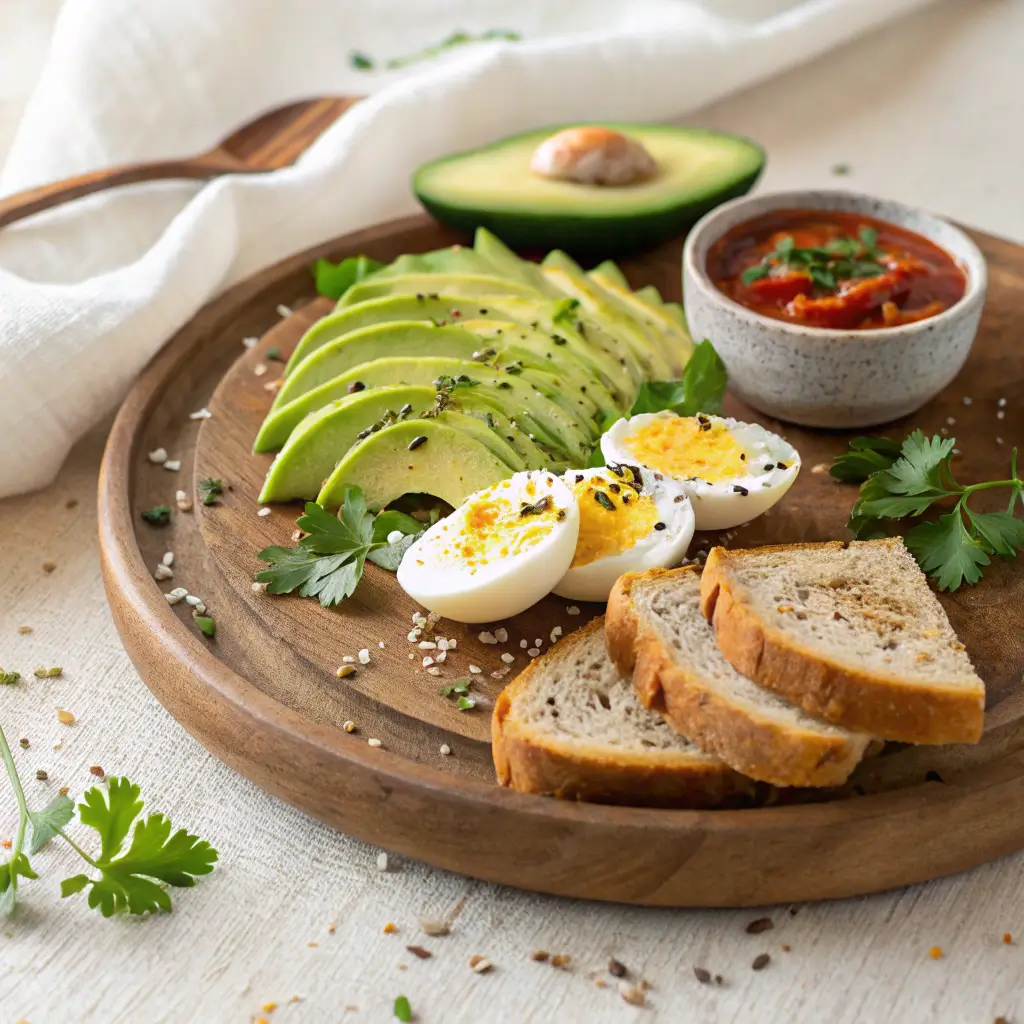
1. Perfect Texture Every Time
No more overcooked, rubbery whites or grayish-green yolks. The Ninja Foodi’s controlled pressure and steam circulation cook eggs evenly, leaving you with firm whites and creamy yolks.
2. Easy to Peel
Struggling with stubborn shells? The steam pressure gently separates the shell from the egg, making peeling a breeze. This is especially helpful for making deviled eggs or egg salads where a smooth surface matters.
3. Faster and Hands-Free Cooking
With the Ninja Foodi, you can cook multiple eggs at once without monitoring the stove. Just set the time, let the machine do the work, and enjoy perfectly cooked eggs in minutes.
4. Consistency You Can Trust
Unlike boiling on a stovetop—where factors like altitude, water temperature, and cooking time can vary—the Ninja Foodi provides precise temperature control. This means you’ll get the same reliable results every single time.
5. Less Mess, Less Cleanup
No need for multiple pots or ice baths. The Ninja Foodi’s built-in steaming process minimizes mess, and since it’s a one-pot method, cleanup is quick and easy.
Now that you know the benefits, let’s go over the ingredients you’ll need to get started.
Ingredients Needed for Ninja Foodi Hard-Boiled Eggs
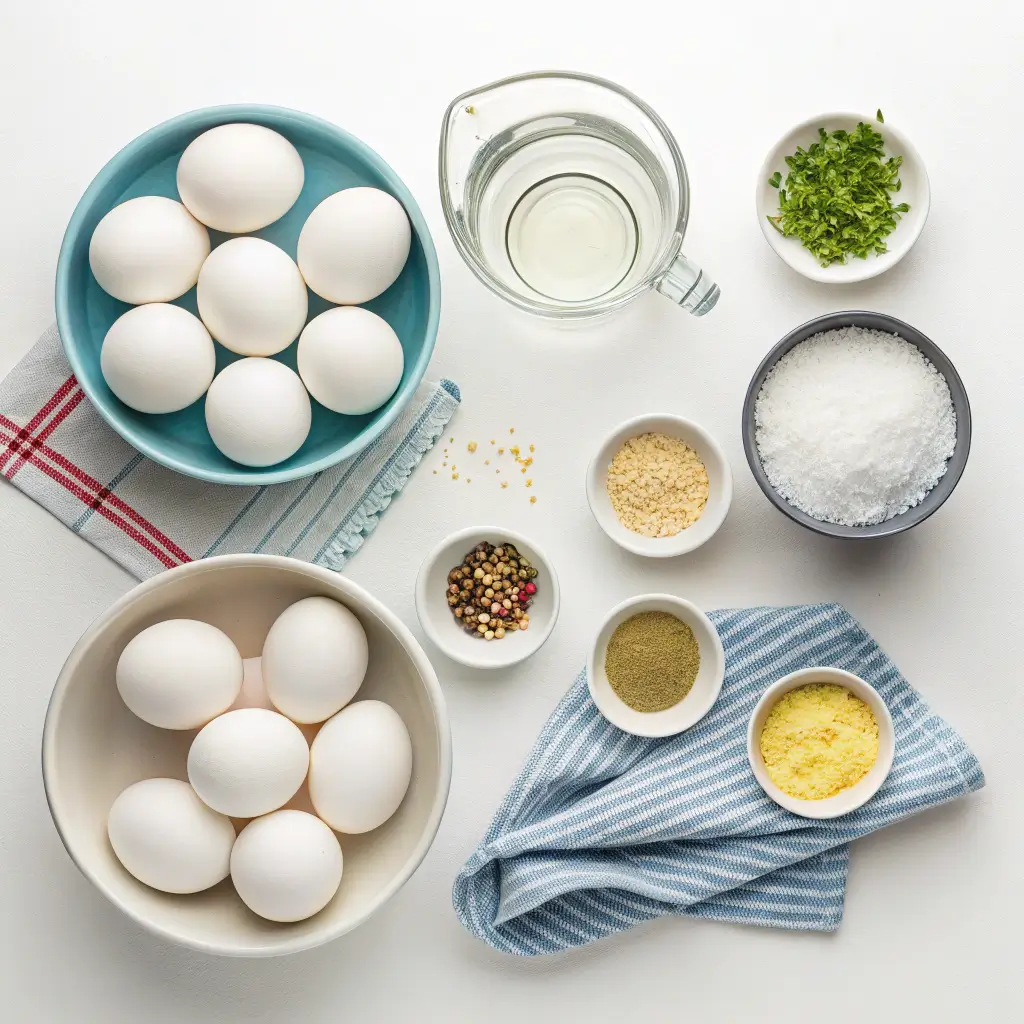
Making Ninja Foodi hard-boiled eggs requires only a few simple ingredients and tools. Here’s what you’ll need:
Essential Ingredients
- Large eggs – Use fresh or slightly older eggs for best results.
- Water – Required for steam circulation inside the Ninja Foodi.
Optional Ingredients (for Peeling & Flavoring)
- Ice (for an ice bath) – Helps stop the cooking process and makes peeling easier.
- Salt or vinegar (optional) – Some people add these to the water to further aid in peeling.
Equipment Needed
- Ninja Foodi (any model with a pressure cooking function)
- Trivet or steamer basket – Keeps eggs elevated for even cooking.
- Large bowl (for the ice bath)
With everything ready, let’s move on to the step-by-step instructions for making perfect hard-boiled eggs in the Ninja Foodi.
Step-by-Step Instructions for Cooking Ninja Foodi Hard-Boiled Eggs
Follow these simple steps to make perfect Ninja Foodi hard-boiled eggs every time. The process is quick, easy, and virtually foolproof!
Step 1: Prep the Ninja Foodi
Place the Ninja Foodi on a flat, stable surface. Insert the trivet or steamer basket into the pot. This ensures the eggs don’t touch the bottom, promoting even cooking.
Step 2: Add Water
Pour 1 cup of water into the base of the Ninja Foodi. The water will create steam, which is key to the pressure cooking process. It doesn’t need to cover the eggs, just enough to produce steam.
Step 3: Arrange the Eggs
Carefully place your eggs on the trivet or steamer basket. You can cook as few or as many eggs as you like, as long as they fit in a single layer. Try not to overcrowd the pot.
Step 4: Set the Pressure Cooking Function
Close the Ninja Foodi lid and ensure the valve is set to “Sealing.” Select the Pressure Cook or Manual setting on high pressure. For soft-boiled eggs, cook for 4 minutes; for medium-boiled eggs, cook for 5 minutes; and for hard-boiled eggs, cook for 6 minutes.
Step 5: Natural Release or Quick Release
Once the cooking time is complete, you have two options:
- Natural Release: Let the pressure release naturally for 5 minutes, then carefully turn the valve to “Venting” to release the remaining pressure.
- Quick Release: If you’re in a hurry, carefully turn the valve to “Venting” immediately after the cook time ends to release the pressure quickly.
Step 6: Ice Bath (Optional but Recommended)
For easy peeling, transfer the eggs to a bowl filled with ice water. Let them sit for about 5 minutes. This step stops the cooking process and makes the shells easier to remove.
Step 7: Peel and Serve
Once the eggs are cool, gently tap them on the counter to crack the shell, then peel. Your eggs are now ready to enjoy or use in various dishes!
Expert Tips and Variations for Perfect Ninja Foodi Hard-Boiled Eggs
To make your Ninja Foodi hard-boiled eggs even better, here are some expert tips and variations you can try to customize your eggs to your exact preferences:
1. Adjust Cooking Time for Desired Yolk Consistency
- Soft-Boiled Eggs: If you prefer a slightly runny yolk, reduce the cook time to 4 minutes on high pressure. After the quick release, you’ll have eggs with a perfectly soft center, ideal for breakfast or a salad topping.
- Medium-Boiled Eggs: For a creamy, semi-set yolk, set the Ninja Foodi for 5 minutes. This is great for sandwiches, bowls, or as a quick snack.
- Hard-Boiled Eggs: For fully cooked yolks that are firm but not dry, stick to the 6-minute cook time.
2. Fresh or Older Eggs?
Older eggs peel more easily than fresh ones, so if you have eggs that are a little past their prime, they’ll be perfect for this recipe. However, fresh eggs can still work well with the ice bath step to make peeling easier.
3. Adding Flavor to the Eggs
While the basic recipe is simple, you can add extra flavor by:
- Seasoning the water: Add a pinch of salt or a splash of vinegar to the water before cooking. Some people believe this helps make peeling easier, although it’s optional.
- Flavored Ice Bath: Try infusing your ice bath with herbs like basil or rosemary for a subtle flavor twist. After the eggs cool, the delicate aroma will add a unique touch when you peel them.
4. Cooking Multiple Eggs at Once
The Ninja Foodi can cook several eggs at once, but make sure they are arranged in a single layer. Avoid stacking the eggs to ensure they cook evenly. If you’re cooking more than a dozen, consider doing it in batches for the best results.
5. Storing and Meal Prep
Once your eggs are cooked, peel and store them in the refrigerator for up to one week. Hard-boiled eggs are a great addition to your weekly meal prep, perfect for quick snacks, salads, or making deviled eggs.
To keep the eggs fresh longer, store them in their shells. The shell helps protect the eggs and maintain their flavor.
6. Ninja Foodi Accessories to Try
For added convenience, consider using Ninja Foodi accessories like the egg rack or steamer basket. These accessories help keep the eggs organized and elevate them for more even cooking.
7. Quick Release vs. Natural Release
The natural release method is great for a softer, creamier yolk, while the quick release method gives you a firmer yolk. Experiment with both to find your perfect balance.
Creative Serving Ideas for Ninja Foodi Hard-Boiled Eggs
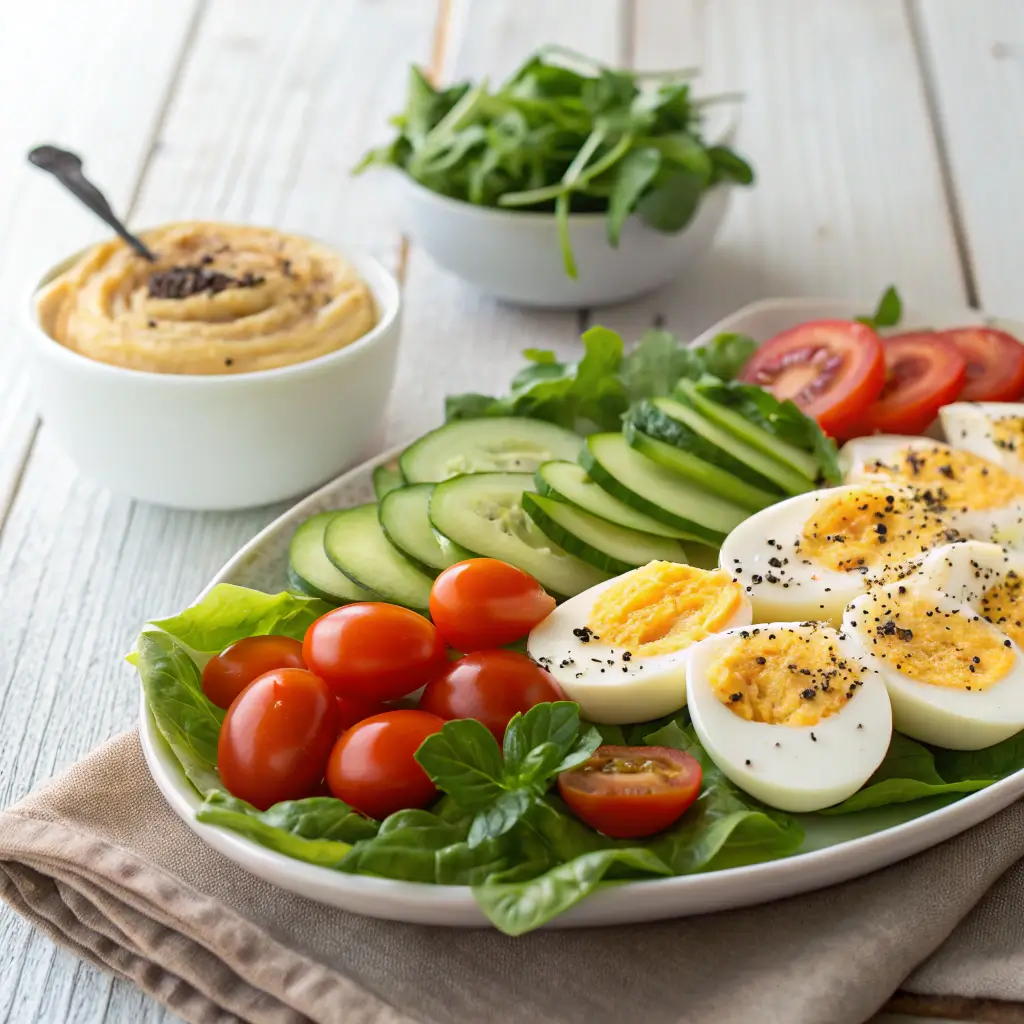
Once your Ninja Foodi hard-boiled eggs are ready, the possibilities for serving them are endless! Here are some delicious ways to enjoy them:
1. Classic Egg Salad
One of the most popular ways to use hard-boiled eggs is in a classic egg salad. Mash the eggs with mayonnaise, mustard, salt, and pepper for a creamy filling. You can also add chopped herbs like chives or parsley for extra flavor. Spread it on bread, stuff it into a pita pocket, or enjoy it as a lettuce wrap for a healthier alternative.
2. As a Salad Topping
Slice your hard-boiled eggs and add them to a variety of salads:
- Cobb Salad: Combine sliced eggs with chicken, avocado, bacon, and blue cheese for a hearty meal.
- Greek Salad: Top a fresh Greek salad with sliced eggs for added protein and texture.
- Simple Green Salad: Elevate a simple mixed green salad with hard-boiled eggs for extra protein.
3. Snack on the Go
Hard-boiled eggs are a fantastic on-the-go snack. Simply peel them, sprinkle with a pinch of salt, and pack them in your lunchbox or keep a few in your fridge for quick, healthy snacking throughout the day. They are high in protein and will keep you full between meals.
4. Deviled Eggs
Transform your hard-boiled eggs into deviled eggs. After peeling and halving the eggs, scoop out the yolks and mix them with mayonnaise, mustard, and a touch of vinegar. Spoon or pipe the filling back into the egg whites. For added flavor, sprinkle with paprika, chives, or bacon bits.
5. Breakfast Option
Hard-boiled eggs are the perfect addition to your breakfast. Pair them with avocado toast, or serve them alongside oatmeal or yogurt for a protein-packed meal. You can also incorporate them into a breakfast bowl with quinoa, sautéed vegetables, and a drizzle of olive oil.
6. Protein Boost for Bowls
Add your Ninja Foodi hard-boiled eggs to grain bowls, poke bowls, or vegetarian bowls for a boost of protein. Pair with quinoa, rice, or couscous, and add your favorite veggies and sauces for a balanced meal.
7. As a Sandwich Filling
Hard-boiled eggs can also be a filling for a quick sandwich or wrap. Layer sliced eggs between two slices of bread, along with some lettuce, tomato, and a spread like mayonnaise, mustard, or hummus. A quick and satisfying lunch option!
8. As a Topping for Soups
Add hard-boiled eggs as a topping for soups like ramen, miso, or vegetable soup. The creamy yolk adds richness and texture, elevating the soup to a whole new level.
9. For Meal Prep
Hard-boiled eggs are excellent for meal prepping. Prepare a batch at the beginning of the week and incorporate them into various meals, such as salads, wraps, or breakfast dishes. Having them ready to go makes it easy to throw together nutritious meals throughout the week.
10. For a Protein-Packed Snack
Hard-boiled eggs make a perfect protein-packed snack when paired with a small side of veggies or fruit. They’re satisfying, easy to prepare, and nutritious, helping to keep hunger at bay until your next meal.
If you’re looking for a complete meal, try pairing your Ninja Foodi hard-boiled eggs with a perfectly cooked Ninja Foodi Baked Potato. The tender and fluffy potatoes create a wonderful contrast with the creamy eggs, making for a delicious, hearty dish. You can find the full recipe for making the ultimate baked potatoes in your Ninja Foodi in my guide for Ninja Foodi Baked Potato. Together, these two recipes are perfect for a simple yet satisfying meal.
If you’re curious about the nutritional benefits of eggs and how they fit into a balanced diet, I highly recommend reading this article from the Egg Nutrition Center, which provides in-depth information about egg-based nutrition. Furthermore, for tips on how to make perfect hard-boiled eggs, check out the detailed guide on Serious Eats to enhance your egg-cooking skills.
Conclusion: Why Ninja Foodi Hard-Boiled Eggs are a Must-Try
The Ninja Foodi hard-boiled eggs are an incredibly easy, convenient, and versatile addition to any meal. Whether you’re looking for a quick snack, a protein-packed breakfast, or an ingredient to elevate your salads and bowls, these eggs are the answer. Thanks to the Ninja Foodi, the process is quick and simple, ensuring you get perfect eggs every time without the hassle.
With just a few simple steps, you can enjoy the convenience of having hard-boiled eggs ready for a variety of dishes. Plus, with endless ways to incorporate them into your meals—whether you’re making a classic egg salad, a protein-packed snack, or a tasty deviled egg—you’ll find that these eggs are an essential addition to your culinary routine.
By using the Ninja Foodi, you’re also ensuring that your eggs are cooked just right, with that perfect firm texture and easy peel. In addition to being fast and easy, they’re a healthy, satisfying choice for any time of day.
No matter how you choose to serve them, Ninja Foodi hard-boiled eggs offer a delicious and nutritious solution that will keep you coming back for more. Ready to enjoy the simplicity and versatility of these eggs? Start experimenting with different recipes today, and enjoy the tasty results!
________________________________________________________________________________________________
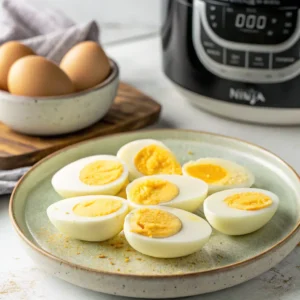
Ninja Foodi hard-boiled eggs
Equipment
- 1 Ninja Foodi (any model with a pressure cooking function)
- 1 Trivet or steamer basket
- 1 Large bowl (for the ice bath)
Ingredients
Essential Ingredients
- Large eggs – Use fresh or slightly older eggs for best results.
- Water – Required for steam circulation inside the Ninja Foodi.
Optional Ingredients (for Peeling & Flavoring)
- Ice for an ice bath – Helps stop the cooking process and makes peeling easier.
- Salt or vinegar optional – Some people add these to the water to further aid in peeling.
Instructions
Step 1: Prep the Ninja Foodi
- Place the Ninja Foodi on a flat, stable surface. Insert the trivet or steamer basket into the pot. This ensures the eggs don’t touch the bottom, promoting even cooking.
Step 2: Add Water
- Pour 1 cup of water into the base of the Ninja Foodi. The water will create steam, which is key to the pressure cooking process. It doesn’t need to cover the eggs, just enough to produce steam.
Step 3: Arrange the Eggs
- Carefully place your eggs on the trivet or steamer basket. You can cook as few or as many eggs as you like, as long as they fit in a single layer. Try not to overcrowd the pot.
Step 4: Set the Pressure Cooking Function
- Close the Ninja Foodi lid and ensure the valve is set to “Sealing.” Select the Pressure Cook or Manual setting on high pressure. For soft-boiled eggs, cook for 4 minutes; for medium-boiled eggs, cook for 5 minutes; and for hard-boiled eggs, cook for 6 minutes.
Step 5: Natural Release or Quick Release
- Once the cooking time is complete, you have two options:
- Natural Release: Let the pressure release naturally for 5 minutes, then carefully turn the valve to “Venting” to release the remaining pressure.
- Quick Release: If you’re in a hurry, carefully turn the valve to “Venting” immediately after the cook time ends to release the pressure quickly.
Step 6: Ice Bath (Optional but Recommended)
- For easy peeling, transfer the eggs to a bowl filled with ice water. Let them sit for about 5 minutes. This step stops the cooking process and makes the shells easier to remove.
Step 7: Peel and Serve
- Once the eggs are cool, gently tap them on the counter to crack the shell, then peel. Your eggs are now ready to enjoy or use in various dishes!
Notes
- Calories: 70 kcal
- Fat: 5g
- Protein: 6g
- Carbs: 1g
- Cholesterol: 186mg
- Sodium: 62mg


1 thought on “The Best Ninja Foodi Hard-Boiled Eggs—Fast, Perfect, Easy”